
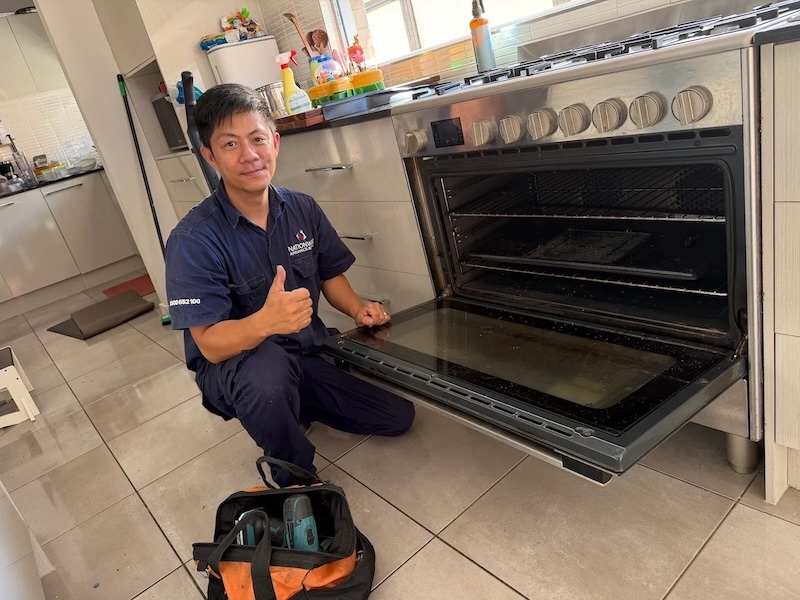
Getting oven installation right is the quiet difference between years of even, reliable baking and a string of frustrating faults you never saw coming. Most people pour their energy into picking the model, comparing brands, features, and finishes, then treat the fitting as an afterthought.
Yet how the appliance goes in matters just as much as the badge on the door. A rushed fit can mean uneven heat, tripped circuits, scorched cabinetry, or a gas connection that is never quite safe. None of that shows up on day one.
It creeps in over weeks and months, and by then the damage is done. The good news is that a careful approach prevents almost all of it. Here is how to think it through, step by step, before the new unit ever slides into place.
Table of Contents
Start With the Space, Not the Oven
Before anything is unboxed, look hard at the cavity the appliance has to live in. The gap needs the right height, width, and depth, plus room for air to move freely around the body.
An oven crammed into a tight recess traps heat, which stresses the electronics and shortens its life dramatically. Cabinets that sit too close can discolour or warp, and doors that foul on surrounding joinery never seal properly.
Measure twice, check the manufacturer clearances, and only then commit. Manufacturers publish exact figures for a reason, and they are not suggestions. Getting this stage right is the foundation of any good oven installation, and it is the step most people rush. Treat the space as the real starting point of oven installation, not an afterthought.
If the recess is even slightly too small, it is far more cost-effective to adjust the cabinetry now than to discover the problem mid-oven installation, once everything is wired in and the appliance will not sit flush.
Power and Gas: The Part You Cannot Wing
This is where corners must never be cut. Many built-in ovens pull more current than a standard socket can safely give, so the wiring has to match the load. Undersized wiring is a genuine fire risk, not a minor detail, and it is the single most common reason a self-managed oven installation goes wrong.
This is the part of oven installation where a licensed hand truly earns its keep. Even a small detail like the door hardware matters over time, and a guide on how to repair oven door handle shows how everyday wear starts once the unit is in daily use.
For gas models, a certified connection is not optional. Gas work carries obvious risks, and the law reflects that. Official guidance on using electricity safely is a useful reminder that this stage belongs with a licensed professional, which is the safest path for oven installation.
A qualified technician will also test the connection once it is made, checking for leaks on a gas line or correct earthing on an electric one. That verification step is something a confident amateur simply cannot replicate at home, and it is worth every cent.
Ventilation Keeps Everything Alive
Ovens throw off a lot of heat, and that heat needs somewhere to go. Blocked vents or a sealed-in cavity cause the internal parts to slowly cook themselves, and the electronics are usually the first casualty. Control boards, fans, and thermostats all have a temperature ceiling, and pushing past it repeatedly is what turns a five-year appliance into a two-year one.
Leaving the specified airflow gaps is one of the simplest ways to avoid an early breakdown, and it is a detail that careful oven installation never skips. Do not stuff insulation or packaging around the sides to fill a gap, and never seal the appliance in for a neater look.
If your oven ever stops responding out of nowhere, a guide on why an oven stopped working helps you trace whether the cause is airflow, power, or something deeper. More often than not, poor ventilation is quietly behind a fault that seems to come from nowhere.
Levelling Is Not a Nice-to-Have
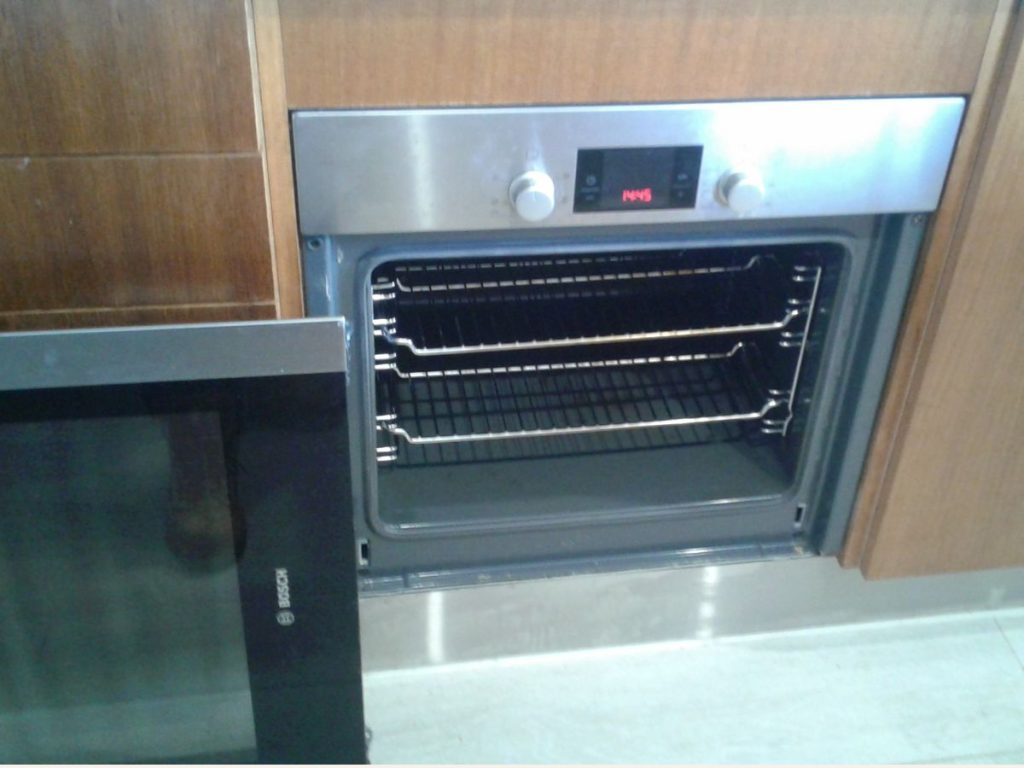
An oven that sits on a slight tilt bakes on a slight tilt. Cakes rise crooked, roasts brown unevenly on one side, liquids pool to one edge of the tray, and dishes slide when you pull the shelf out. It is a small thing that becomes a daily annoyance. A few minutes with a spirit level during oven installation saves a lifetime of lopsided dinners.
Adjust the feet until the base is dead flat in both directions, front to back and side to side. Then check the door swings true and seals cleanly against the frame all the way around.
A poor seal lets heat escape, which forces the appliance to work harder and pushes up your running costs. A level result here is what separates a tidy oven installation from a frustrating one, and it takes only minutes to get right.
Test Before You Trust It
Once everything is connected, do not just switch it on and walk away. Run it empty at a moderate temperature and watch how it behaves. Listen for odd buzzing or rattling, check the door seal holds warmth, and confirm the thermostat climbs steadily rather than lurching or stalling.
A brand new appliance should feel calm and predictable from the first run, and a proper oven installation makes that the norm rather than a matter of luck.
If a fuse blows on that first run, a walkthrough on how to tell when an oven fuse is blown points you to the likely culprit before you panic. A calm, careful test run is the last real step of oven installation, and it is your chance to catch a problem while it is still small.
Checking the Energy ratings of your model at this stage also tells you what it should cost to run, so you have a baseline to compare against if bills ever start to climb unexpectedly.
Matching the Oven to How You Cook
A well-planned oven installation also considers how the appliance fits your actual habits. A household that bakes often benefits from a fan-forced model set at a comfortable working height, while a keen roaster might prioritise a larger cavity.
Positioning is a quiet but important part of oven installation too. An oven placed at eye level spares your back and makes it easier to check on food without crouching, which is a small comfort that pays off every single day.
These are the kinds of practical details that a rushed oven installation overlooks, and they are far easier to plan for before the unit is fixed in place than to work around afterwards.
Knowing When to Hand It Over
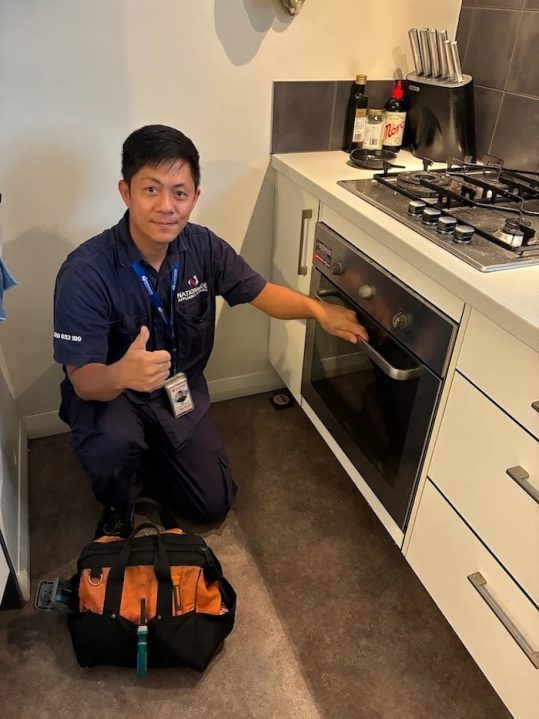
There is real satisfaction in setting up your own kitchen, but some jobs sit firmly outside the do-it-yourself zone. Anything involving mains wiring, gas lines, or heavy lifting into a wall cavity is worth handing to a technician, and if a fault ever appears, switch the appliance off and disconnect it where safe to do so, since running a faulty unit only turns one problem into two.
The risk is not just to the appliance but to your home and the people in it. The team at Quality Appliance Repairs works across both gas and electric appliances, and its fully licensed and in-house trained technicians handle the tricky connection and safety checks so the first roast is a celebration, not a callout.
If a part needs to be ordered and a return visit is required, there is no second call-out fee, and the team services homes right across Australia, subject to availability.
Knowing your limit protects both your home and the warranty on a brand new appliance, since many manufacturers require professional fitting for the cover to stay valid. Handing over the risky parts is not a failure of nerve.
It is simply the smart, cost-effective way to make sure the job is done once and done properly. To see what a professional connection or repair might cost, click this link to view our prices on the central pricing page.
A well-fitted oven rewards you every single day, from weeknight dinners to holiday baking marathons. Take your time with the measurements, respect the power and gas rules, mind the ventilation, and never skip the first test run.
Approach oven installation as a sequence of small, careful steps rather than a single rushed job. Done with care, oven installation is what turns a boxed appliance into the dependable heart of a working kitchen.
Frequently Asked Questions (FAQs)
1. Can I Fit a Built-In Oven Myself?
You can handle the measuring, unboxing, and sliding it into place, but the electrical or gas connection should be done by a licensed technician. That final hookup is where safety and warranty cover both hang in the balance, so it is not the place to save a few dollars.
2. How Much Clearance Does an Oven Need?
It varies by model, so always follow the manufacturer figures. As a rule, leave room above, behind, and beside the unit so heat can escape and the electronics stay cool. Filling those gaps to tidy the look is a common mistake that leads to early faults.
3. Does an Oven Need Its Own Circuit?
Many do. Larger ovens draw more current than a shared socket can safely supply, so a dedicated circuit is often required. An electrician can confirm what your kitchen wiring can handle before anything is connected, which avoids nasty surprises down the line.
4. Why Does My New Oven Cook Unevenly?
The most common causes are a unit that is not level or poor airflow around the cavity. Check that it sits flat in both directions and that the vents are clear before assuming a deeper fault. A quick spirit-level check often solves the problem in minutes.
5. Should I Replace an Old Oven or Just Repair It?
If the fault is minor and the oven is otherwise sound, a repair is usually the cost-effective choice. Repeated major faults on an ageing unit are when a fresh install starts to make sense. Weigh the repair cost against the age and condition before deciding.